October 29, 2026
How to make anime art with AI
Make anime art with an AI anime generator: write the prompt, pick a model, keep one character the same, and turn your pictures into short clips.
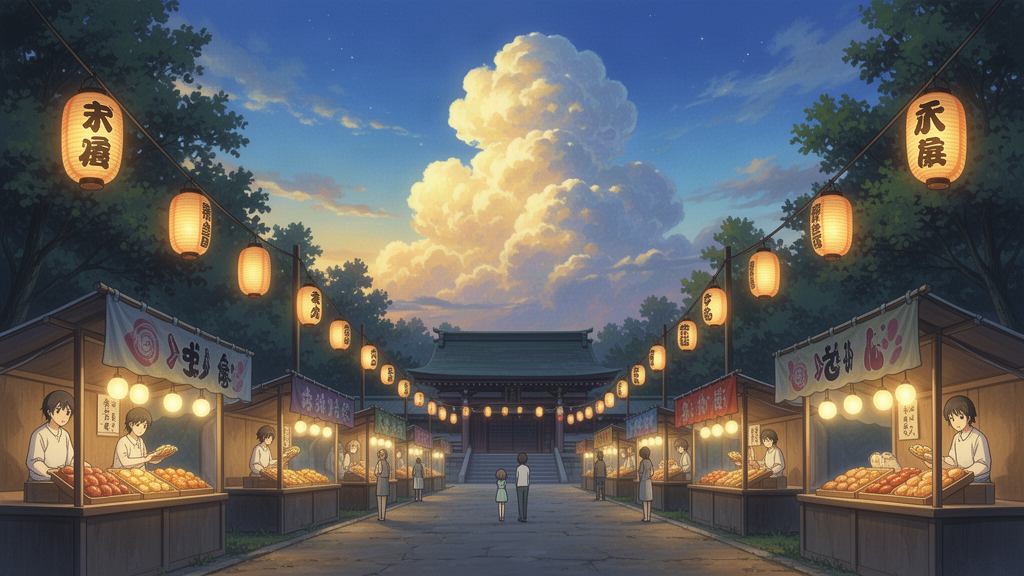
An AI anime generator turns a few words into anime-style art: big clear eyes, clean outlines, flat colour with soft shading, and painted skies. With genvi you pick a model and describe the scene. Then you get a picture back. This guide shows you how to make anime art with AI, from your first picture to a character you can use again and again.
What you will make with an AI anime generator
You will make a finished anime-style picture. It could be a scene with a background, a character, or a sheet of chibi stickers (small, cute, big-headed characters). At the end, we show you how to keep one character the same across many pictures. We also show you how to make a short moving clip.
What you need
- A genvi account (sign up).
- An idea in one sentence. "A boy flying a paper plane over a river at sunset" is plenty.
- About ten minutes.
Step 1. Write a short prompt
A prompt is the text you give the model. For anime, four parts work well. Put them in one sentence, in this order:
- Who or what: "a schoolgirl waiting at a bus stop".
- Where and when: "beside a field of sunflowers, at golden hour".
- The style words: "anime key visual, hand-painted background art, crisp cel shading". (Cel shading means flat blocks of colour with sharp edges, like a hand-drawn cartoon.)
- The mood: "quiet, nostalgic".
Style words matter most. If you leave them out, many models give you a photo-like picture instead. The pictures below were made with prompts of this kind.
Step 2. Pick a model and make the first picture
Open Chat Studio from the dashboard, type your prompt, and send it. You can also use the AI panel inside the Image Composer. It adds the result as a layer, one piece of the picture that you can move on its own. Every image model has its own look, so a model you pick changes the picture. If you are not sure which to choose, read how to choose an AI image model.
The price of each try is shown before you press the button. Check it first.
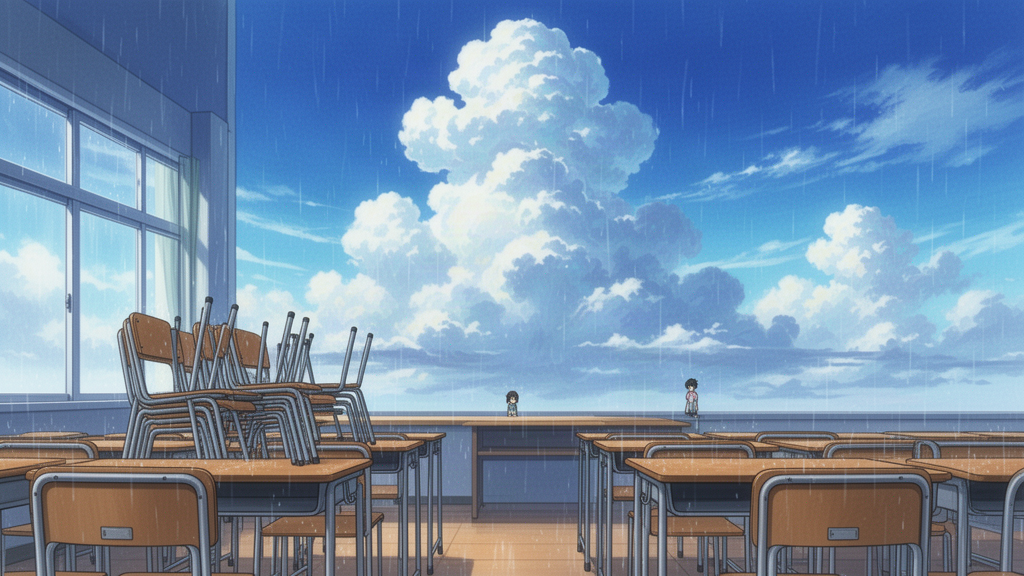
An empty classroom on a rainy afternoon. Made with FLUX 2 Flash (Fal).
Step 3. Choose the shape
Many models let you set the shape of the picture, called the aspect ratio. A wide picture (16:9) suits a film frame or a wallpaper. A tall picture (9:16) suits a phone screen. Square (1:1) suits an avatar or a sticker. The settings that a model offers appear after you pick it, so set the shape before you run, not after.
Step 4. Compare and refine
Make two or three pictures with small changes. Change one thing at a time: the time of day, the weather, or the style words. This is the fastest way to learn what a model does with your words. Try the same prompt on a second model too. They draw the same sentence differently.
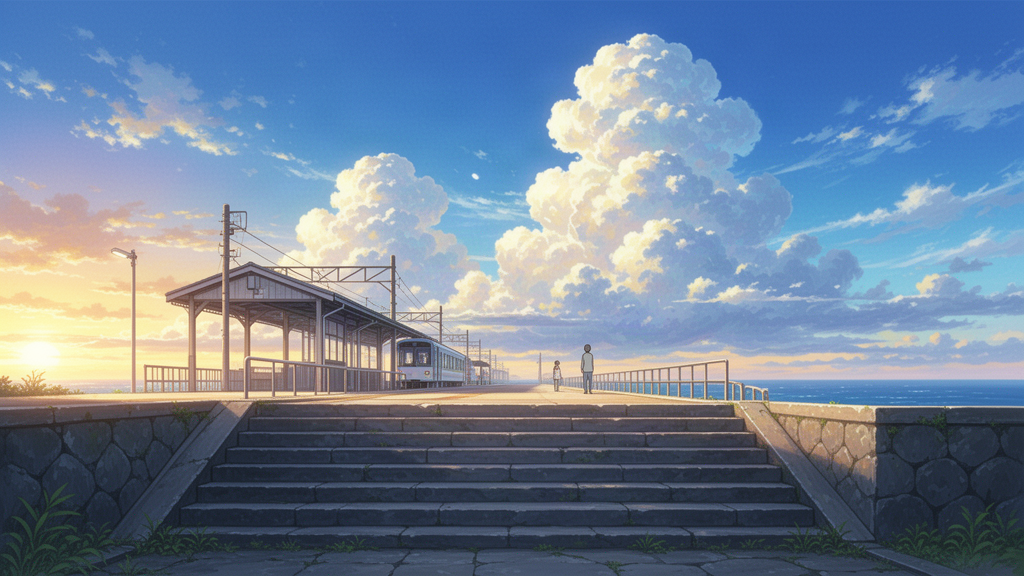
Stone steps up to a seaside train station, cicada summer, golden hour. Made with FLUX 2 Flash (Fal).
If a picture is almost right, do not start from nothing. Send it back with a short change, such as "same scene, but at night". Models that edit pictures take your image and a short instruction, and give you a changed copy.
Step 5. Make chibi stickers from a photo
Chibi art is a cute, small-bodied style. It is a popular way to turn a person or a pet into a character. In genvi you can start from a photo and ask for a sheet of stickers. The Explore page has a good example. It turns one photo into nine chibi stickers with different expressions. Open the post and press Generate similar to start from the same settings and swap in your own photo. The Quick templates section on the dashboard also has a Sticker sheet option for the same job.
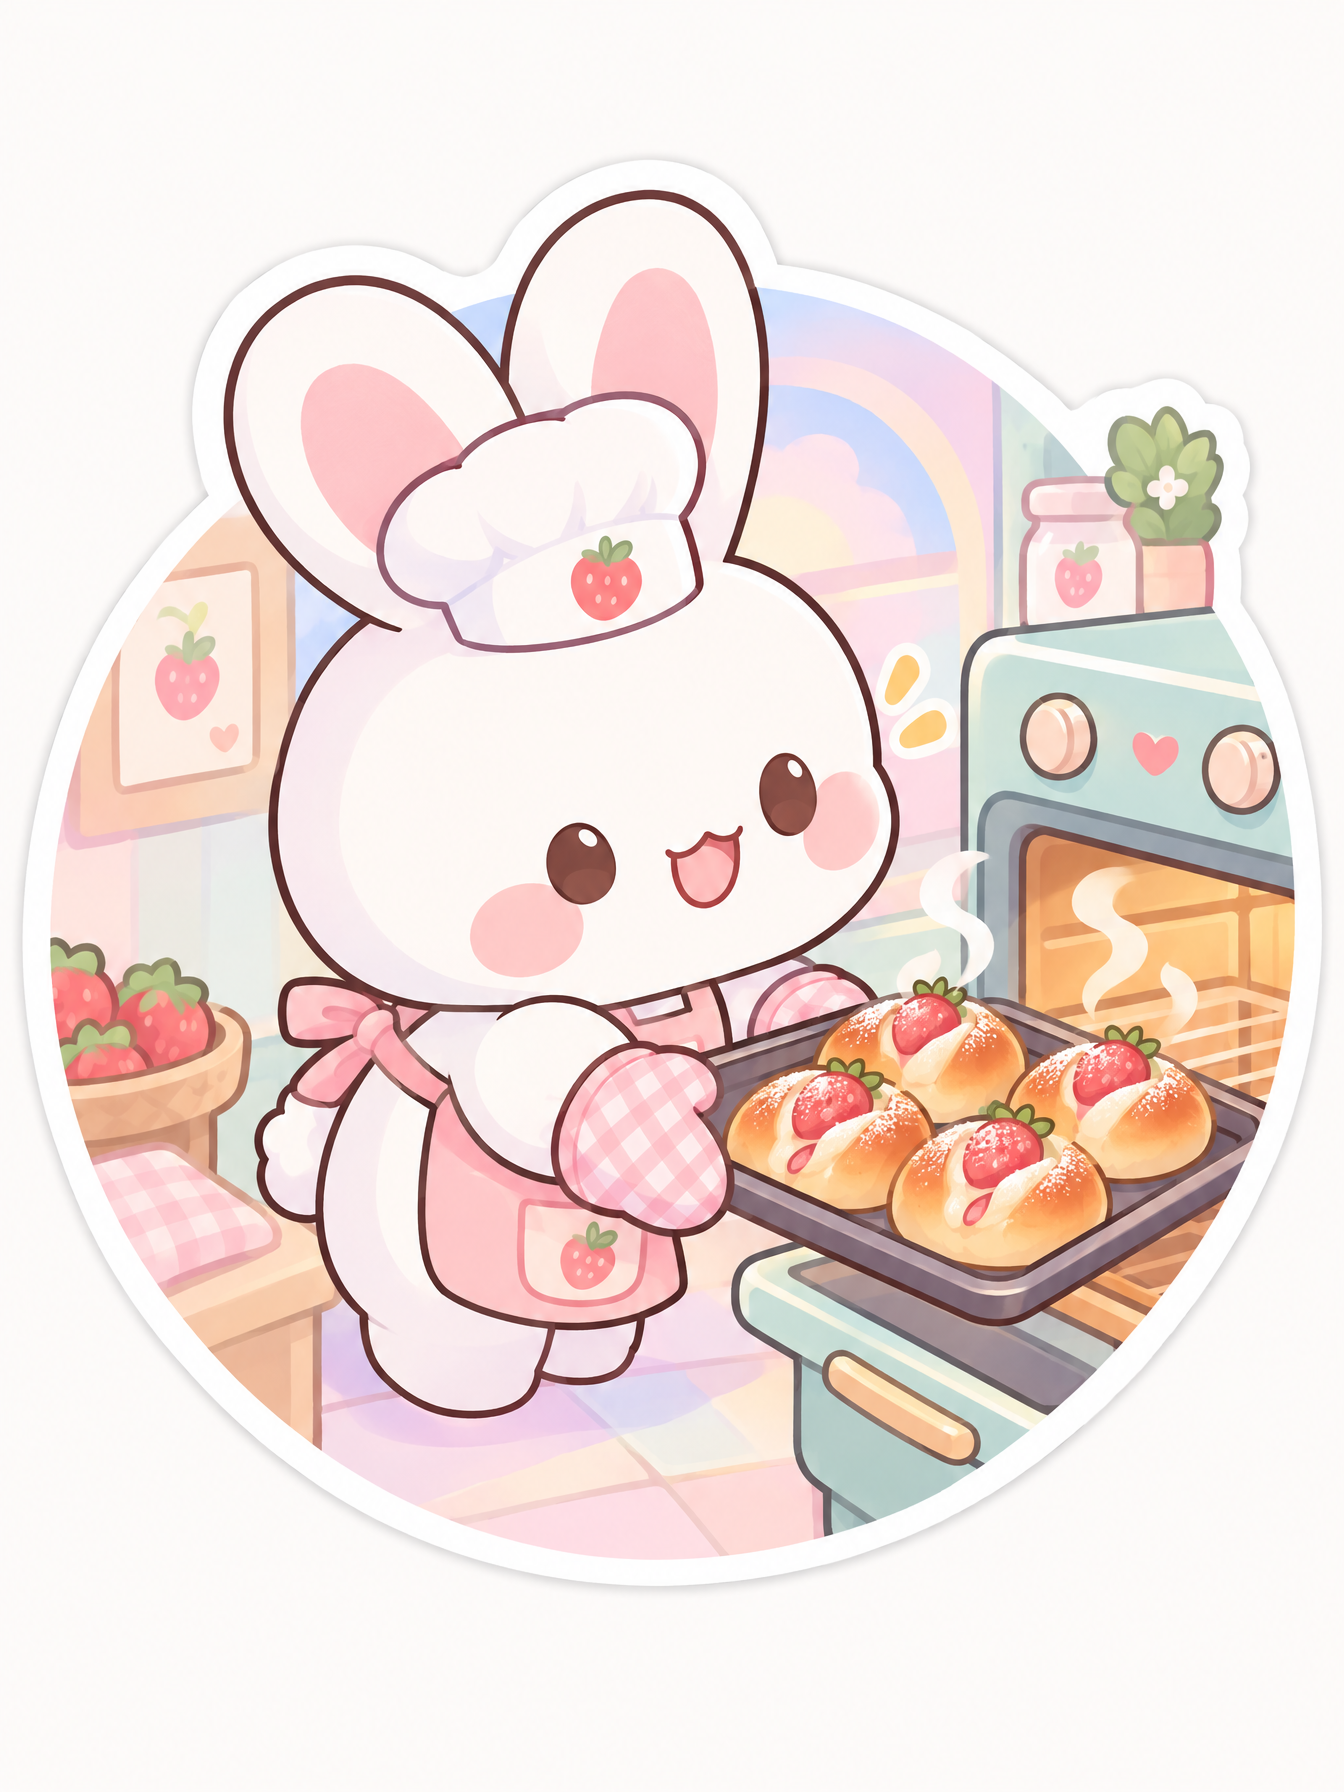
A chibi bunny baker with strawberry buns, pastel colours, clean outline. Made with GPT Image 2.5 Flare.
Step 6. Keep the same character every time
The hardest part of anime art is drawing the same character twice. The face, the hair, and the clothes change from one picture to the next. The fix is to save the character as a reference. A reference is a saved name, a short description, and a few pictures. After that you type
@ and its name in a prompt, and genvi adds the description and the pictures for you.To make one, open References on the dashboard and choose New reference. Pick the kind Character, add your best pictures, and write what never changes: hair colour and style, the school uniform, the ribbon. Leave out the pose and the camera angle, because those change in every picture. The full story is in define a character once.
You can also make a Character Sheet in Node Studio. It draws one character from the front, the side, and three-quarter views, with different expressions, all in one picture. Use that sheet as your starting reference. See storyboards, character sheets and sprite sheets for how it works.
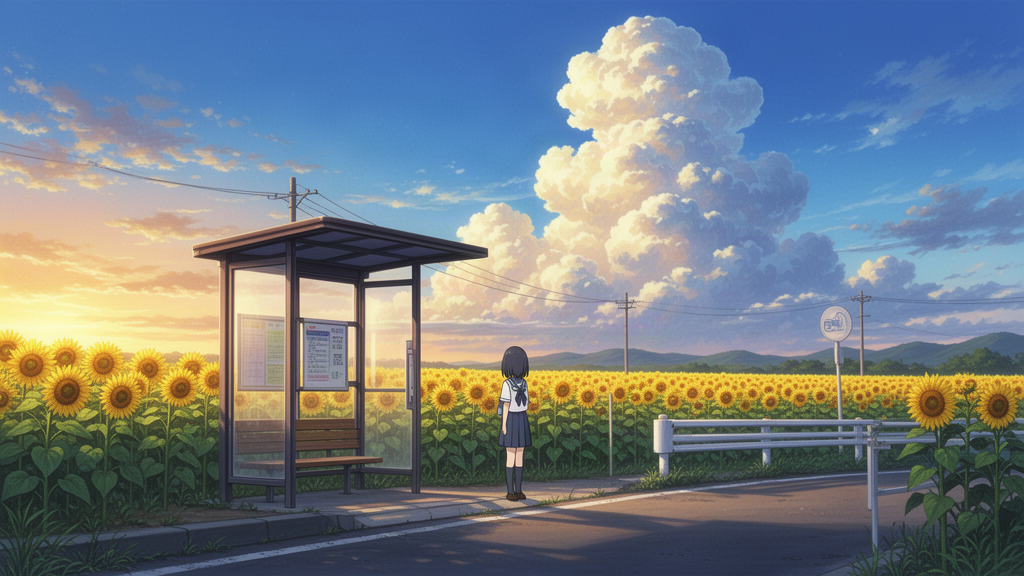
A schoolgirl at a rural bus stop beside sunflowers. Made with FLUX 2 Flash (Fal).
Step 7. Make it move
You have two easy paths. First, take a picture you like and turn it into a short clip with a model that adds movement to a still picture. Our guide to animating a photo walks through it. Second, use Shorts in Formats. Its Look list includes Anime. You write a topic, and genvi makes a short video with scenes, a voice, and captions in that style. See how to turn a topic into a short video.
Tips for better anime art
- Ask for the background. "Hand-painted background art" gives you the soft, detailed skies and streets that anime is known for.
- Name one light. "Golden hour", "evening rain" or "first snow" gives a stronger mood than "nice lighting".
- Keep the cast small. One or two characters per picture is much easier for a model to get right.
- Check hands and text. Both can go wrong. Fix them by editing the picture or running it again.
- Describe the look, not the artist. Do not name a living artist to copy their style.
What it costs
Each model has its own price, and genvi shows the price before you run. Credits are the units you pay with. A fast model is cheaper, so use it to test ideas. Switch to a stronger model for the final picture. Moving clips cost more than stills. See plans and credits for how credits work.
FAQ
Can I use the pictures for my own projects?
The rules depend on your plan and on what you made. Read can you use AI images commercially before you sell anything.
Can I make a whole comic with it?
Yes, one panel at a time. Save your main characters as references, make each panel as its own picture, and arrange them in the Image Composer. There you can add words on top as text layers.
Why does my character look different each time?
A prompt alone cannot hold a face steady. Use a reference, as in Step 6, and describe only the things that never change.
How do I know what a picture will cost?
genvi shows the price before you run. Plans and credit amounts are on the plans page.