October 23, 2026 · Updated November 3, 2026
How to animate a photo with AI in genvi
Turn a still photo into a short video with genvi. Follow simple steps in Chat Studio or Node Studio, and learn how to keep the cost low.

You can turn a still photo into a short video. A product can drift, a portrait can breathe, a landscape can have moving clouds. This guide shows two ways to animate a photo with AI in genvi. It also shows how to keep the cost low while you find the movement you like.
What you will make
A short clip that starts on your photo and then moves. You choose how long it runs, what the camera does and which video model (the AI that makes the video) is used. The clip is saved in your File Repository, the place where genvi keeps your files. You can add it to the Video Composer later.
What you need
- A photo or image. It can come from your device, your File Repository, or an image you made in genvi.
- A genvi account with credits. Video is priced by the second, so a short test costs much less than a long one.
Pick a video model
Most video models can start from your photo. The photo is called the start frame, because the clip begins on it. A few models to know:
- Grok Imagine Video 1.5 takes a start frame, an end frame and extra pictures. Clips run from 1 to 15 seconds in 480p, 720p or 1080p.
- Grok Imagine Video 1.5 Lite is quick and low cost. It takes one photo as the start frame.
- Kling Video v3 Pro makes cinematic clips with sound. It can also end on a picture you choose. When you set an end picture, the clip has no sound.
- Veo 3.1 makes clips with sound, and it can make a person speak a line.
Start with a Lite or Fast tier while you work out the movement. Then run the version you like on a stronger model. The model picker shows the price before you commit.
Animate a photo in Chat Studio
Chat is the quickest way. Use it when you want one clip and do not want to connect anything.
- On the Dashboard, open the Chat Studio tab, click New Chat Studio Project, name it and click Create.
- Click the paperclip in the message box and choose Upload from device or Choose from your files. You can also drag a photo onto the window.
- Click the small picture of your photo and set its role to Start frame.
- In the control bar, set Kind to Video and pick a model. If a model would ignore your photo, genvi warns you before you spend credits.
- Describe the movement, not the photo. The photo already shows what is there. Write what should happen, like "slow push in, steam rising from the cup". Press Enter.
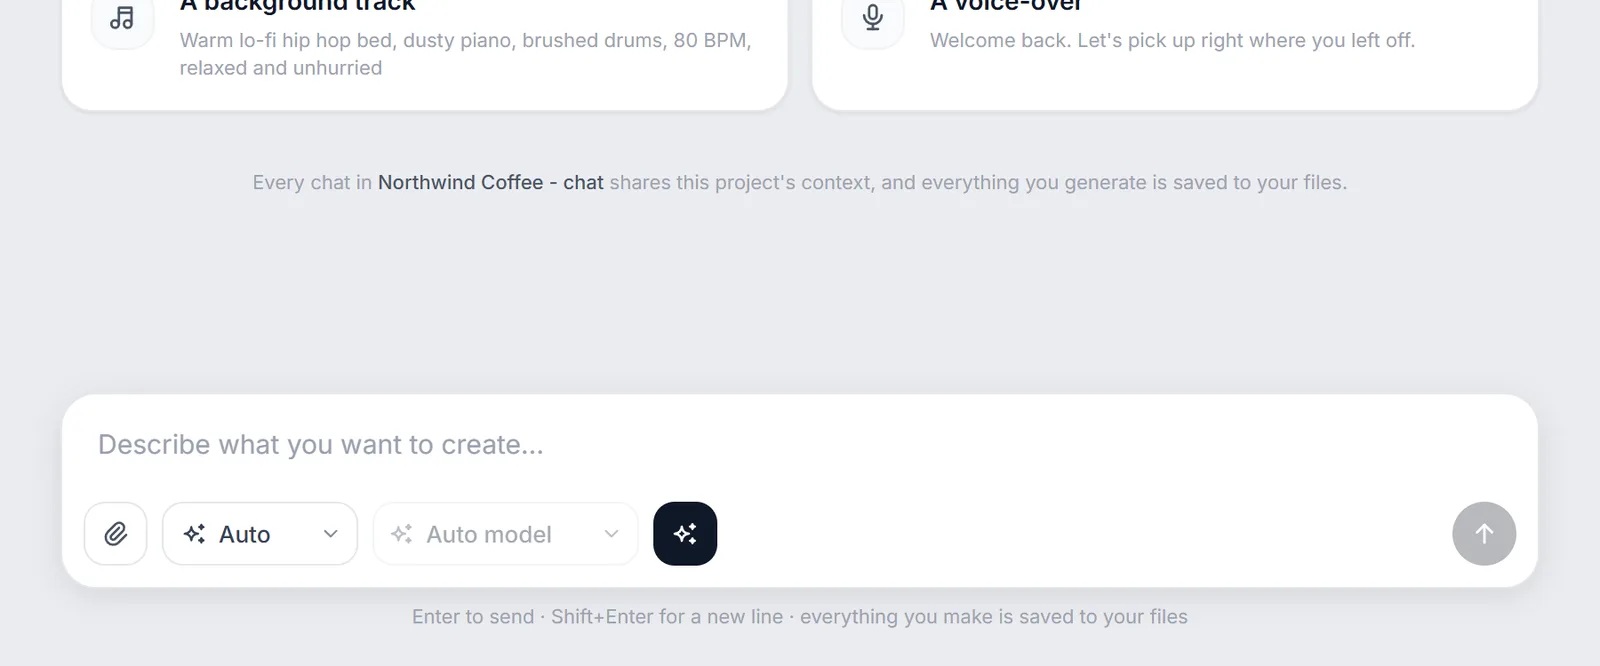
The Chat Studio message box. Kind, model and settings are on Auto until you change them.
When the clip is ready, ask for a change, like "make the movement slower" or "now 6 seconds". genvi remembers the last result, so you do not need to describe the scene again.
Animate a photo on the Node Studio canvas
Use Node Studio when you want to try several models on the same photo, or do the same job on many photos. A node is a block on the canvas that does one job. You connect the blocks to build a workflow.
- On the Dashboard, click New Project and choose Workflow.
- Add an Image Input node and choose your photo. Then add a Video Generation node.
- Drag from the dot on the right side of the Image Input node to the image dot on the left side of the video node.
- Add a Text Prompt node (a block where you type your words). Write the movement you want and connect it to the video node's prompt dot.
- Click the model name at the bottom of the video node to pick a model. Set the length, then click Run.
To connect nodes, drag from one dot and let go over another dot.
To compare models, add a second Video Generation node, connect the same photo and pick another model. The two clips sit side by side, each with its model and price.
Tips that save credits
- Start short. Length is the biggest part of the price. Test a 3 to 5 second clip first, then make it longer.
- Check at a low size first. Try 480p before you pay for 1080p.
- Ask for one movement. Models do one clear action better than three. "The camera drifts left while the lanterns rise" works better than a list of five effects.
- Use an end frame if you know where the clip should finish. Grok Imagine Video 1.5 and Kling Video v3 Pro accept one.
- Use a sharp, well lit photo. If your photo is small, run it through Upscale on the canvas first.
To write better movement lines, read how to write prompts for AI video. To add a voice or captions afterwards, see how to add AI voiceover and captions.
What it costs
Video is priced by the second. A 6 second clip costs six times the per-second price in the model picker. You see the price before you run, and that is the price you pay. If a run fails, your credits come back. We do not give one fixed price because it depends on the model, the size and the length.
FAQ
Can I animate a photo of a person?
Yes. Every request is checked before you are charged, so a request that breaks the content rules is stopped and costs nothing. Use your own photos, or photos you have the right to use.
Why did the model ignore my photo?
Some models cannot use photos. The message box and model picker warn you before you run. Pick a model that accepts images, and set your photo's role to Start frame.
Can I add sound to the clip?
Some models, like the Veo 3.1 tiers, make sound themselves. For the others, make music or a voice separately and add it to an audio track in the Video Composer.
Where does the clip go?
It is saved to your File Repository automatically. You can use it again in another workflow or drag it onto a Video Composer timeline.