October 9, 2026 · Updated November 3, 2026
How to make game assets with AI
Make game assets with AI: concept art, props, sprite sheets for 2D, and 3D models you can slim down, rig and download for your game.
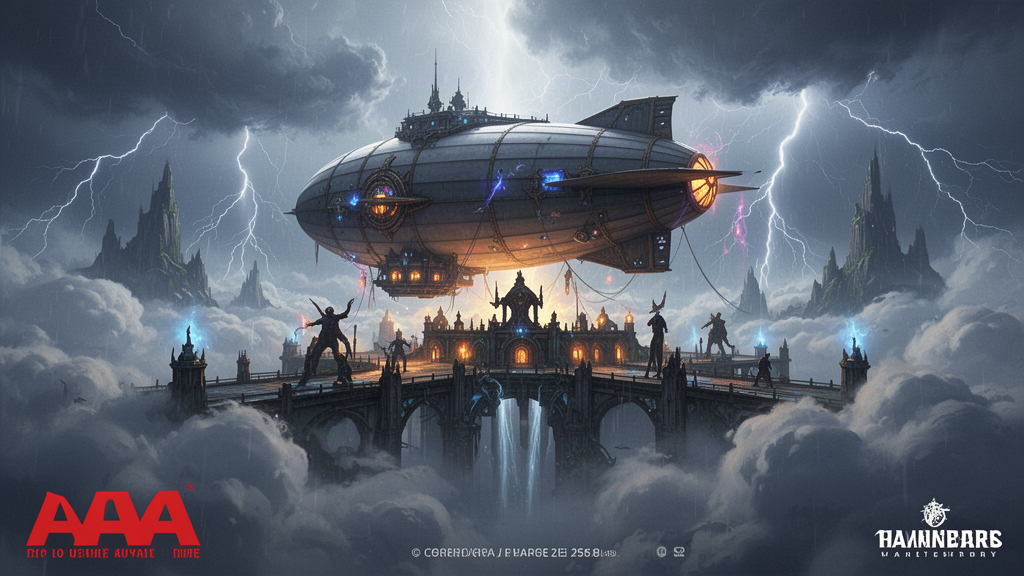
Game assets are the pieces a game is built from: a hero, a sword, a chest, a tree, an icon. Making them takes a long time by hand. With AI you can go from an idea to a picture, a sheet of small game pictures, or a 3D model quickly. This guide shows how to make game assets with AI in genvi. It covers 2D games (flat pictures) and 3D games (models you can turn around).
What you will make: AI game assets
You will make one of two things. For a 2D game, you will make a character or item picture. Then you will pack several into a sprite sheet, which is one image that holds many small pictures in a grid. For a 3D game, you will make a 3D model and download it as a GLB file, a common 3D file type. Expect to tidy the results. AI assets are a fast first version, not always a finished one. If you want the story of how these tools came together, read game assets: concept to sprite sheet to mesh.
What you need
- A genvi account (sign up).
- A clear idea of the game's look: bright and cartoon, dark and gritty, pixel-like, and so on.
- A desktop browser. 3D Studio projects open on genvi.co.
Step 1. Make concept art first
Concept art is a picture that shows the look you want. Make it before anything else, because a 3D model or a sprite is only as good as the picture it starts from. Ask for a clear subject and the style of your game: "a hero with a glowing sword on a cliff, stylized and cinematic, heroic fantasy". Make a few and pick one. Reuse its style words for every later asset so the whole set matches.
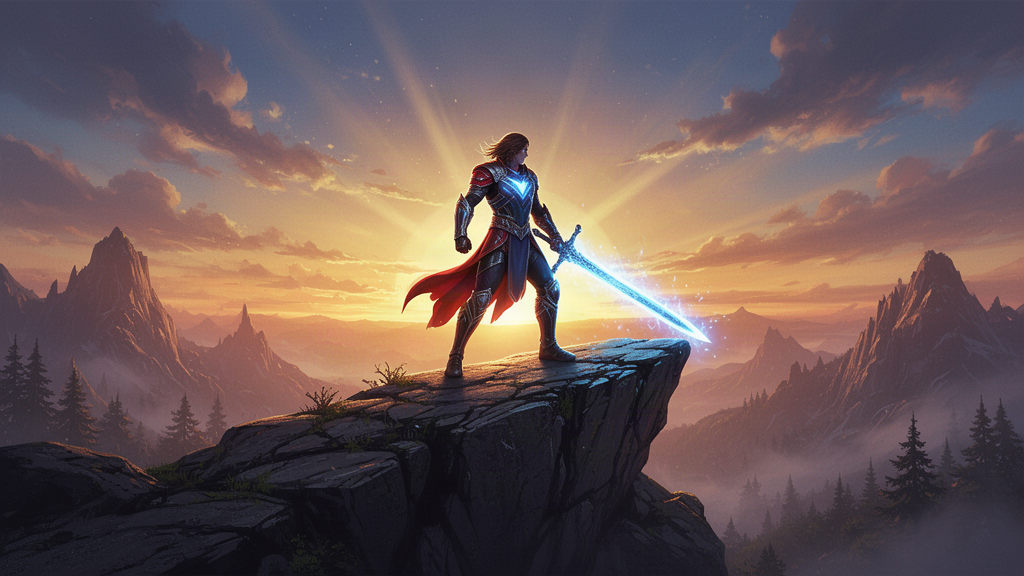
A hero with a glowing sword on a cliff, game key art. Made with FLUX 2 Flash (Fal).
Step 2. Make props and items
Props are things in the world: potions, chests, lamps. Ask for one object on a plain background so it is easy to use. Words like "game asset render" and "hand-painted textures" push the model toward a clean, game-like picture. Make a set in one go and keep the same style words in each prompt.
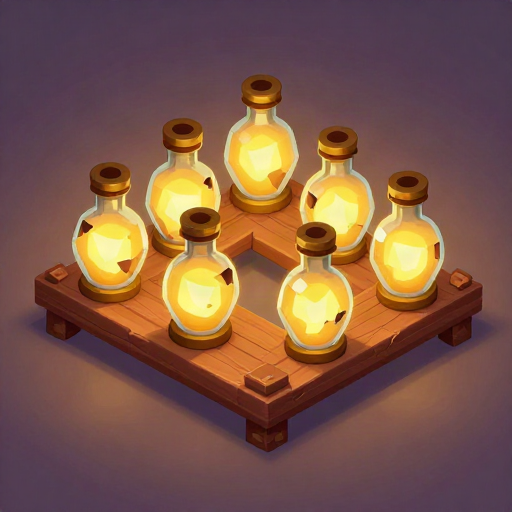
A shelf of glowing potion bottles, stylized game asset render. Made with Z-Image Turbo (Fal).
Step 3. Keep your hero the same
A game character has to look the same in every pose. Save it as a reference: open References on the dashboard, choose New reference, pick Character, add your pictures and write what never changes. Then type
@ and its name in later prompts. See define a character once. In Node Studio you can also add a Character Sheet node. It draws the same character from the front, side and three-quarter views, with several expressions, in a single image.Step 4. Pack a sprite sheet (2D)
In Node Studio, add a Sprite Sheet node. Feed it your character images, either from Image Upload nodes or from Character Sheet nodes. Then set it up:
- Layout sets how the pictures sit: Grid (rows and columns), Horizontal (one row) or Vertical (one column).
- Columns appears for Grid only. 0 means automatic, based on how many pictures you feed in.
- Padding sets the space between pictures, in pixels. You also pick the Background colour.
- Show Labels adds a label under each picture. Useful for frame numbers.
Run the node and you get one image with all the pictures packed in. Use pictures that share the same size and shape, since the sheet looks best that way. Be realistic about animation. AI can give you matching poses, expressions and item icons. A smooth walking animation, where each frame must match the one before, still takes careful checking and some hand fixing.
Step 5. Make a 3D model (3D)
For a 3D game, open a 3D Studio project. Add an Image Upload node and load your concept picture or a prop picture. Add an Image to 3D node and connect them. You can also start from words with Text to 3D. Pick a model, then press Run. The button shows the price first.
Model choice matters:
- Tripo3D v2.5 is the fast, cheaper draft option. Use it to test ideas.
- Tripo3D v3.1 is the higher quality choice, with detailed shapes and realistic materials.
- Meshy v7 makes models meant for games. You set how detailed the model is.
- Others in the picker include Hunyuan-3D and Trellis.
3D runs can be costly. Draft with a fast model, and only re-run the winning idea on a stronger one. The full walkthrough is in how to turn an image into a 3D model.
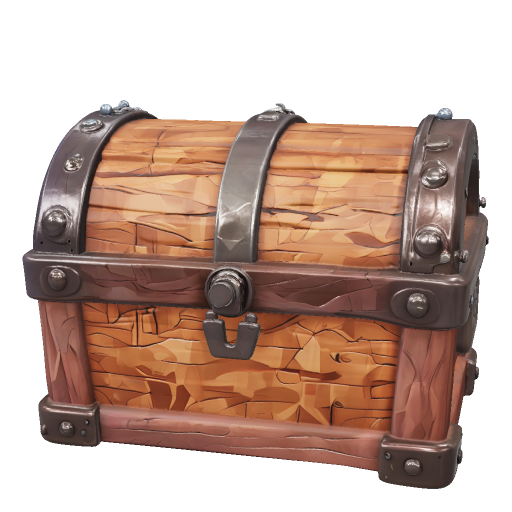
A stylized wooden treasure chest with iron bands. Made with Tripo3D v2.5.
Step 6. Make it game-ready
A raw model is often too heavy for a game, with too many faces. Fix that in the same project:
- Quad Remesh rebuilds the shape with fewer, cleaner faces. You set a target number of polygons, which is the count of flat faces in the model. The default is 10,000. Simple props need fewer, and a detailed hero may need more.
- AI Texture changes the surface. Describe it, such as "weathered iron with moss in the seams".
- Auto Rigging adds a skeleton, the bones that let a model move. Pick a rig type, such as biped (two legs) or quadruped (four legs).
- Mesh Segmenter splits a model into parts, such as the wheels and body of a car.
The viewer shows the triangle count at the bottom left, so you can check it against the limit your game needs. Use the wireframe view to see the lines that edge every face.
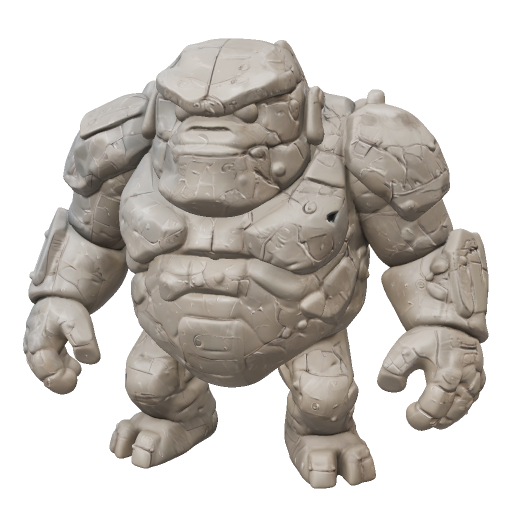
A stylized stone golem. Made with Tripo3D v2.5.
Step 7. Download and use it
In the viewer, use Download the model to save a GLB file. Many game programs and 3D tools can open GLB. The viewer can also open OBJ and FBX files, which are other common 3D file types. For Blender, Unity and Unreal Engine, use Send to. It needs the Genvi Bridge add-on, which the developer documentation describes. For other engines, check which file types they accept. We have not tested every engine.
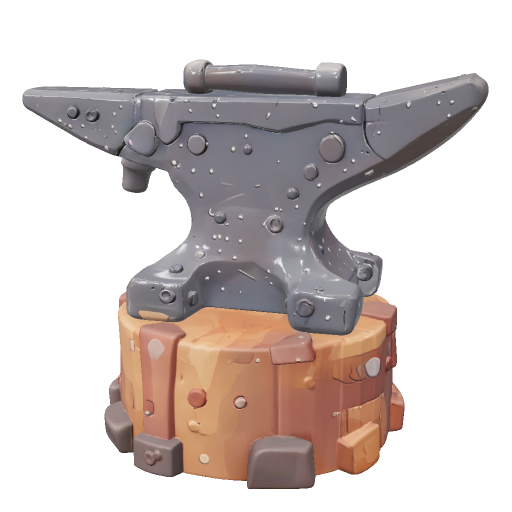
A weathered blacksmith anvil on a stump. Made with Tripo3D v2.5.
Tips
- One style for the whole set. Keep the same style words for every asset.
- Try Geometry first. Some models, such as Hunyuan-3D v3.1 Pro, have a Generate Type setting. Choose Geometry to make the shape alone first.
- Check licences. Read the terms for your plan and any engine or store you plan to ship on. See can you use AI images commercially.
- Test in your engine early. Bring one asset in before you make fifty.
What it costs
Each model has its own price, shown before you run. Texture, remesh and rig runs each have their own price. See plans and credits.
FAQ
Can AI make pixel art?
You can ask for a pixel style in the prompt. We have not tested how clean the pixels come out, so check the result at full size before you use it.
Will my 3D model be ready for a game?
Often it needs a little work. Use Quad Remesh to cut the triangles, and check the texture in your engine.
Can I animate my character?
For a human-shaped 3D model, Auto Rigging adds a skeleton, so you can pose the model or animate it yourself. For 2D, you can turn a picture into a clip, but frame-by-frame sprite animation needs manual care.
Does it work on my phone?
Phones show 3D results, but a 3D Studio project opens on genvi.co.