October 5, 2026 · Updated November 3, 2026
How to turn an image into a 3D model
Turn an image into a 3D model in genvi: connect a picture to an Image to 3D node, then change its surface, shape or add a skeleton.
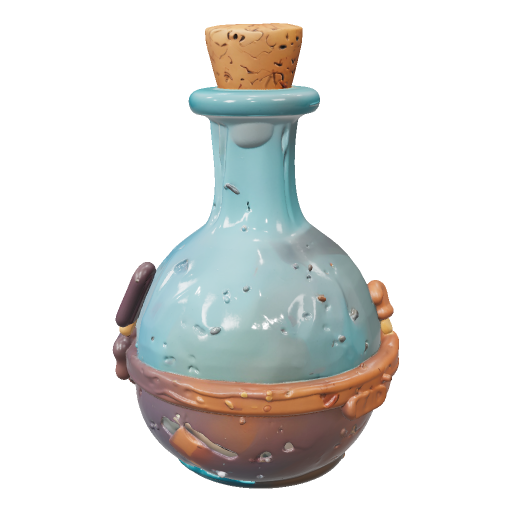
To turn an image into a 3d model, you need a clear picture, a model that can work out the shape from it, and a way to look at the result from every side. genvi's 3D Studio has all three. It has an Image to 3D node (a box that does one job) and a viewer. It also has tools to change the surface, rebuild the shape (remesh) and add a skeleton (rig). This guide takes you from one picture to a file you can download.
What you will make: an image to 3D model
You will make a 3D model with colour and surface detail from one picture. You can spin it in your browser. You can download it as a GLB file (a common 3D file type). You can also send it to Blender, Unity or Unreal (programs for 3D and games). Want to start from words instead? Read 3D Studio, from a sentence to a mesh. The steps are the same.
What you need
- A genvi account (sign up).
- One picture of the object. If you do not have one, make it with an image model.
- A desktop browser for the viewer. The phone app shows 3D results, but a 3D Studio project opens on genvi.co.
Step 1. Get a good picture
The model works from your picture, so the picture sets the quality. Choose a picture with one object, in the centre, with even light and a plain background. Show it from a three-quarter angle, so both the front and a side are visible. Avoid hands holding the object, cropped edges, heavy shadows, and glass or chrome that reflects the room. If you make the picture with an image model, ask for "product shot on a seamless backdrop". Game-style words also help. The community models below used phrases like "stylized game asset".
Step 2. Add an Image to 3D node
- Create a 3D Studio project from the dashboard.
- On the node canvas (the open space where you connect nodes), add an Image Upload node and load your picture. You can also connect any node that makes an image.
- Add an Image to 3D node and connect the image to its Image input. Until you do, the panel says "Connect an image to this node on the canvas."
- Switch to the studio layout. The node's panel (called the inspector) sits in a column beside the viewport (the 3D preview area), and has Input, Settings and Result sections.
Step 3. Choose the model and settings
The model picker at the top of the panel shows the current model and its credit price. (Credits are what you spend on each generation.) Image to 3D starts with Hunyuan-3D v3.1 Pro, which makes the shape and realistic surface materials. Other models you can pick include Trellis v2, Trellis v1 and Meshy v7. Tripo3D v2.5 and v3.1, which made the models on this page, are also listed.
Under Settings you will see the main choices. Generate Type has Normal for a model with colour and texture, and Geometry for a plain shape. Enable PBR adds realistic surface materials. Everything else is under Advanced. A seed of 0 means random. Type a number to get the same result again.
Step 4. Generate and inspect
Press Generate model. The button shows the price. The model appears in the viewport as a GLB file. Spin it around, then use the toolbar to change Shading (solid, lit, flat, wireframe, normals), Lighting and Pivot. The numbers at the bottom left count triangles (the small flat pieces that make up the surface), vertices (corner points), materials and textures. Wireframe (the model drawn as lines) and Normals show broken shapes that a nice texture can hide.
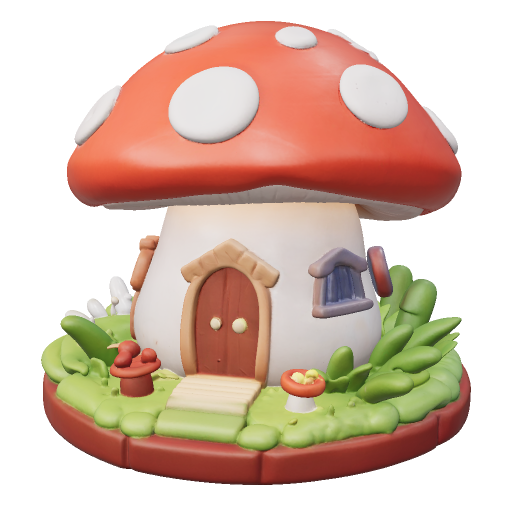
A stylized mushroom cottage: "a stylized mushroom cottage, game asset." Made with Tripo3D v2.5.
Step 5. Improve it
- AI Texture: changes the surface. Connect the model to this node, describe the texture ("weathered brass plates with moss in the seams") and press Generate texture.
- Remesh: rebuilds the shape with fewer or more triangles, which helps for games or 3D printing.
- Rig model: adds a skeleton to a human-shaped model so it can be posed. The viewer shows the starting pose and does not play animations.
- Segment: splits a model into parts you can hide or colour.
- Paint: brush, eraser and projection tools in the viewport.
Each of these is a node that takes the model from the step before. So the chain is: generate, change the texture, remesh, rig. Every step is kept in the project history.
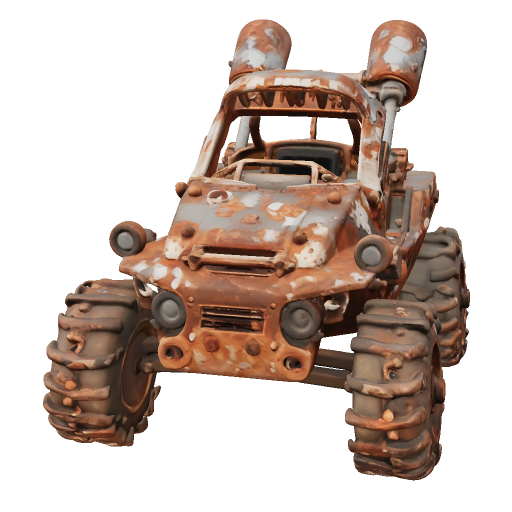
A weathered game asset: "a rusty scrap-built rover, game asset, weathered." Made with Tripo3D v2.5.
Step 6. Download or send it on
At the bottom right of the viewport you will find Download the model and Save a picture of the view. There is also a version with a transparent background. Send to passes the model to the Genvi Bridge add-ons for Blender, Unity and Unreal. They run on your computer and receive the model from the browser. For the add-ons, see the developer documentation.
Tips
- Try two models on one picture. They guess the back of an object differently, and the cheaper one is sometimes better.
- Start with Geometry. Run Geometry to judge the shape, then run Normal when you like it.
- Some models cannot be painted. A model with compressed textures (a smaller picture format called KTX2) opens fine, but the paint tools cannot read it.
- Unsaved paint can be lost. If the viewport rebuilds, paint you have not saved is gone. Save a version often.
- Models cannot be saved as references. You can save the picture a model came from to References, but not the model.
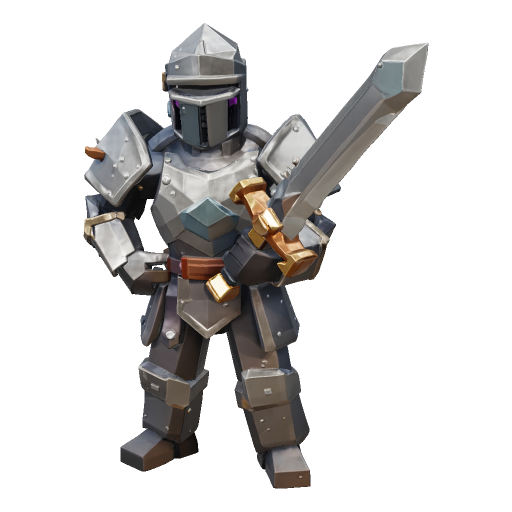
A voxel knight: "a voxel knight with a sword, game character." Made with Tripo3D v3.1.
What it costs
Each model has its own price, shown beside its name in the panel and on the run button before you press it. Texture, remesh and rig runs are priced separately. Some steps, such as painting, splitting a model into parts and the viewer, are free. The estimate on screen is the price to trust. See plans and credits.
FAQ
What file do I get?
A GLB: the shape, textures and, if rigged, a skeleton, all in one file. The viewer also opens OBJ and FBX files (other 3D file types).
Can I turn several pictures into one model?
No. The Image to 3D node takes one image. Use a single clean three-quarter view.
Can I print it?
Remesh it to a sensible number of triangles, then open the GLB in your slicer (the program that prepares 3D prints). We have not tested printing.
Does it work on my phone?
The apps show 3D results from a chat and open files from the Library. A 3D Studio project opens on genvi.co.