October 27, 2026 · Updated November 3, 2026
How to keep a consistent character in AI video
Keep the same person in every AI video clip. Save the character once in References, type their @handle in your prompts and start each clip from a still.
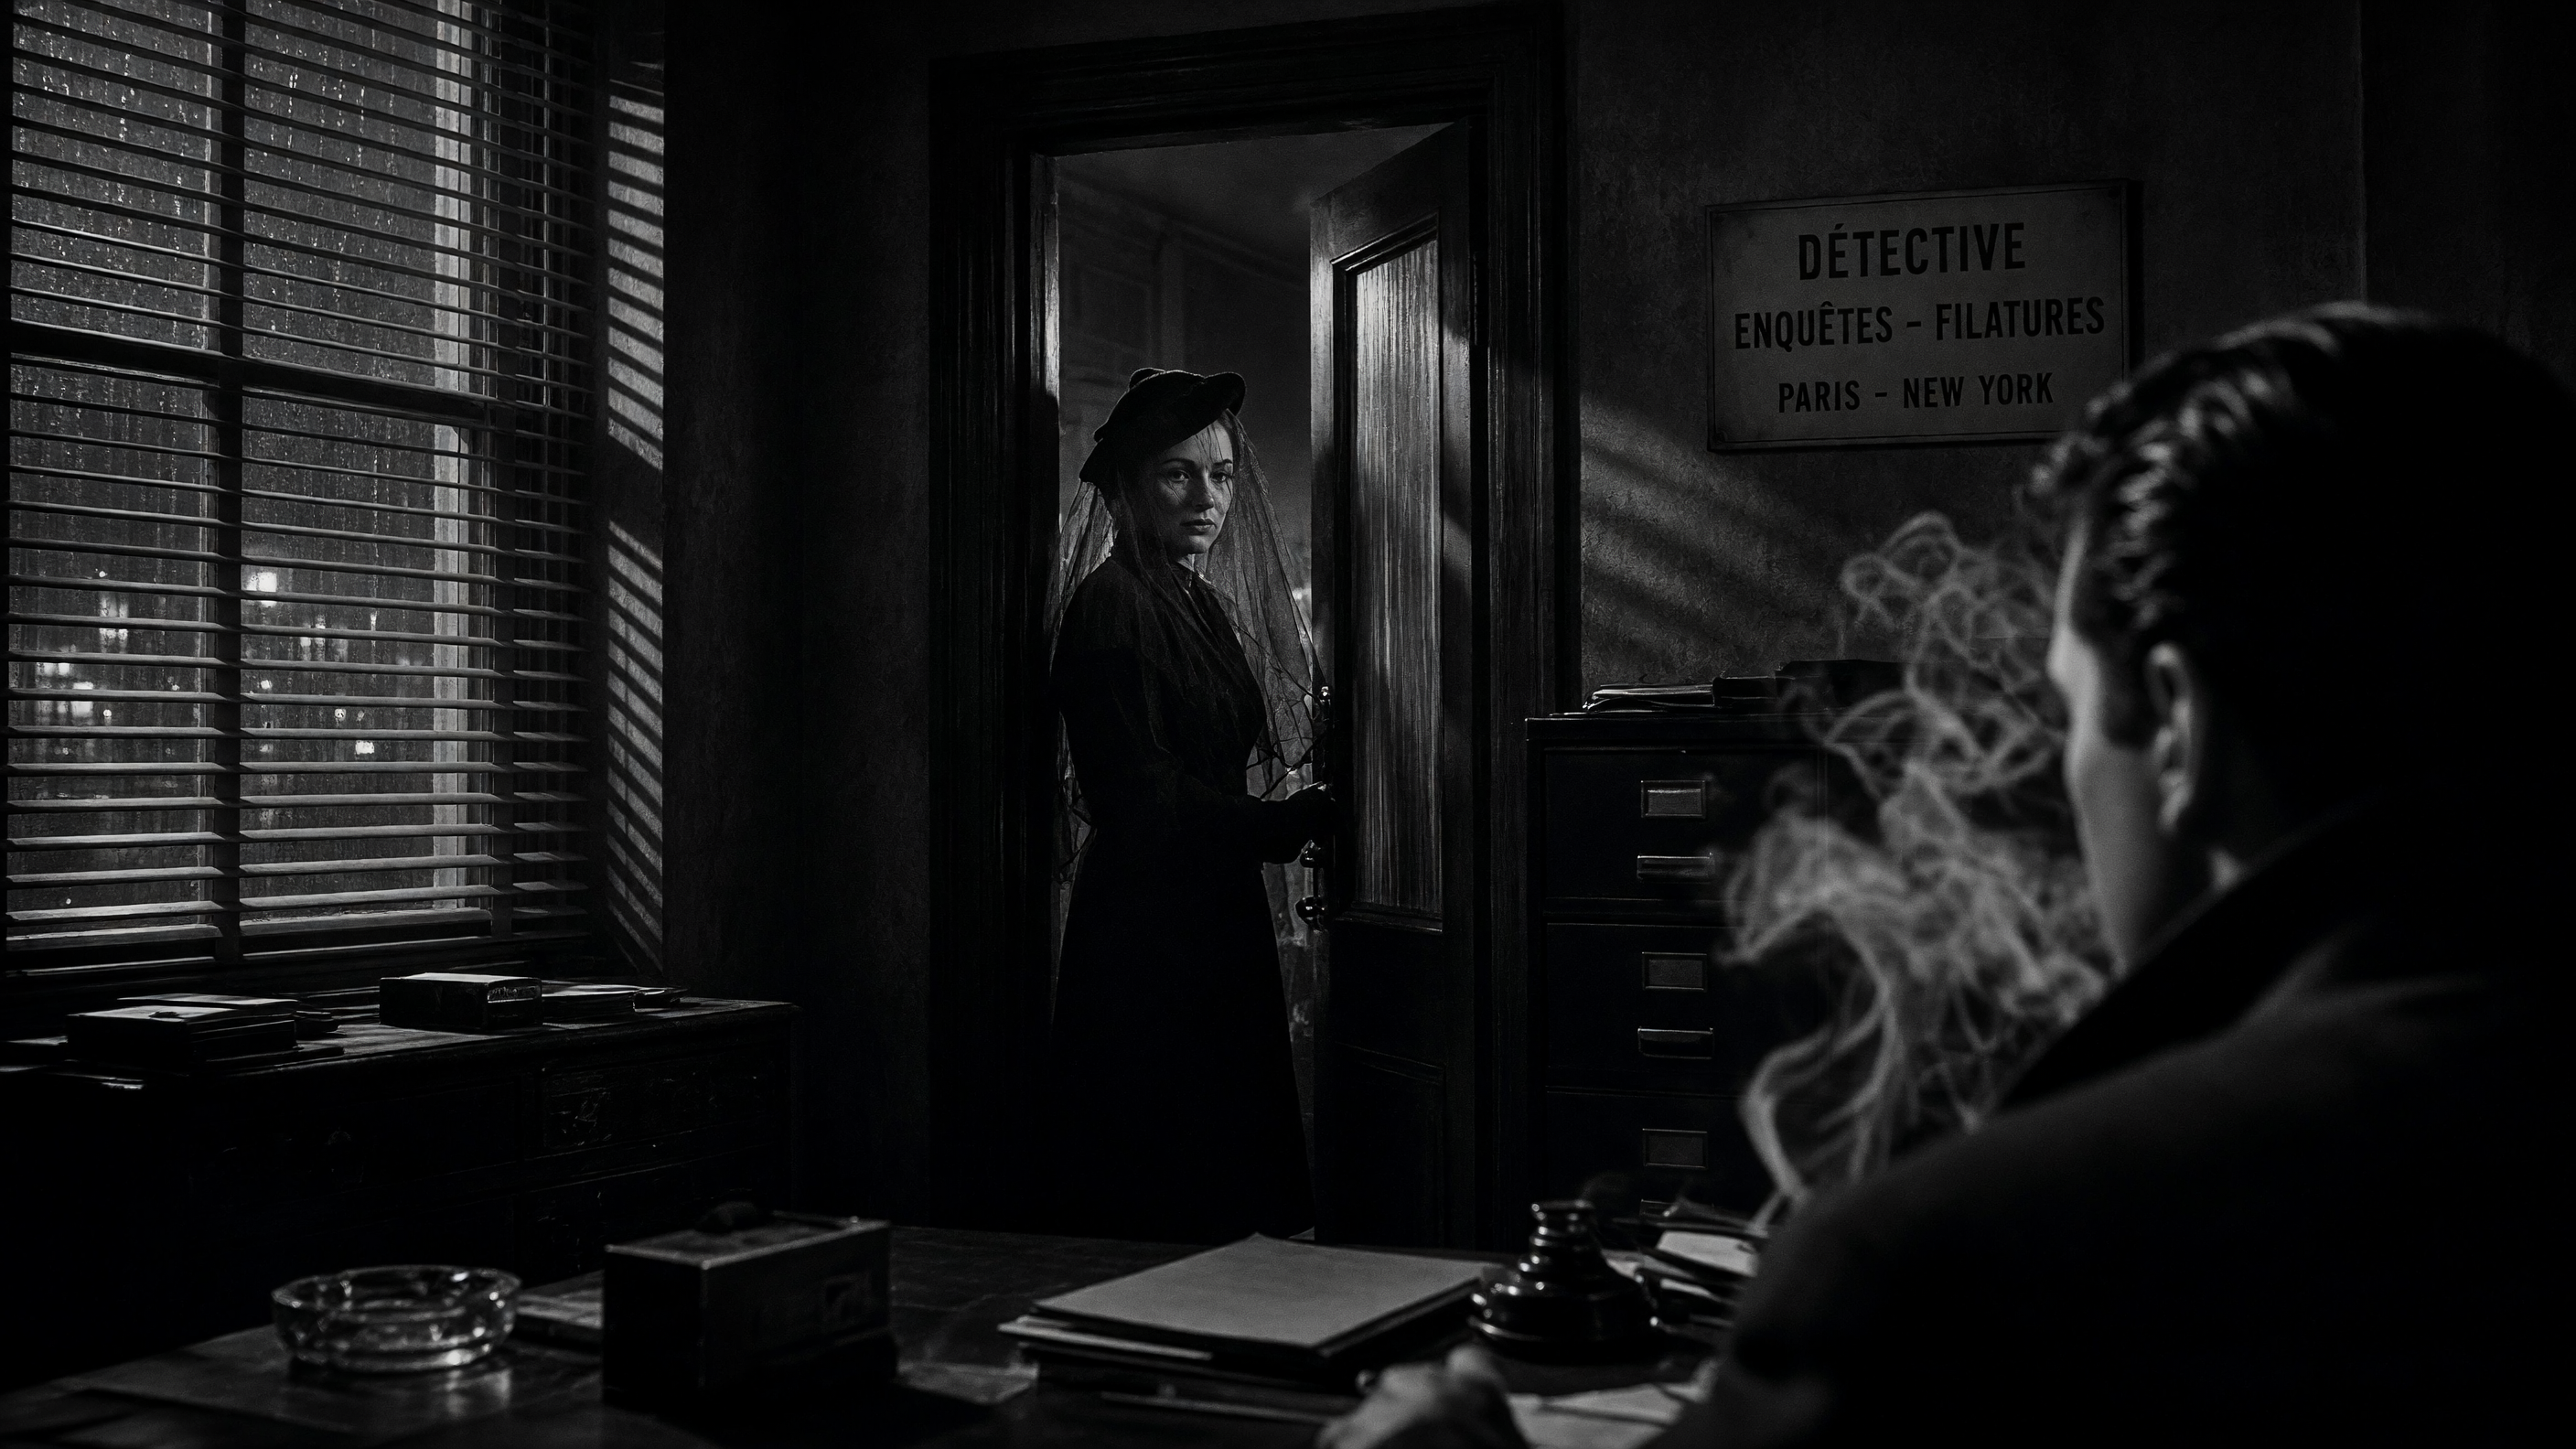
A consistent character in AI video is hard because the AI forgets. Each new clip starts from nothing, so the face you liked in shot one is not in shot two. The fix is to give the AI the same description and the same pictures every time. genvi does this for you with References. You save the character once, type its @handle, and genvi adds the description and pictures for you. This guide uses that to keep one person across several video clips.
What you will make: a consistent character in AI video
You need a saved character, three or four still pictures of them in different places, and a short run of video clips. The clips start from those stills and show the same person. The idea behind this feature is explained in define a character once. If you only want photos, how to make an AI influencer shows a shortcut called Persona.
What you need
- A genvi account (sign up).
- Pictures of your character. Make a few first, or upload your own. Different angles work better than near copies.
- A first name for the character. Video models that speak can refuse some full names, as the next section explains.
Step 1. Define the character in References
- On the Dashboard, open References and choose New reference.
- Under What is it, choose Character. Set a Name and a short Handle, such as
mara. The handle is the short name you will type after an @ sign. - Add up to 12 pictures with Upload or Files.
- Fill in Description for the model. Write what must never change: hair, face, build, clothes, age. The Write with AI button drafts it from your pictures. It shows the price first, and you can Undo.
- Optional: under Voice, pick a voice, so the character sounds like one person in every clip.
If you already have a good generated image, you can save it as a reference. In Chat, hover over the picture and click the Save to references action. It adds the picture to a reference you already have, or starts a new one.
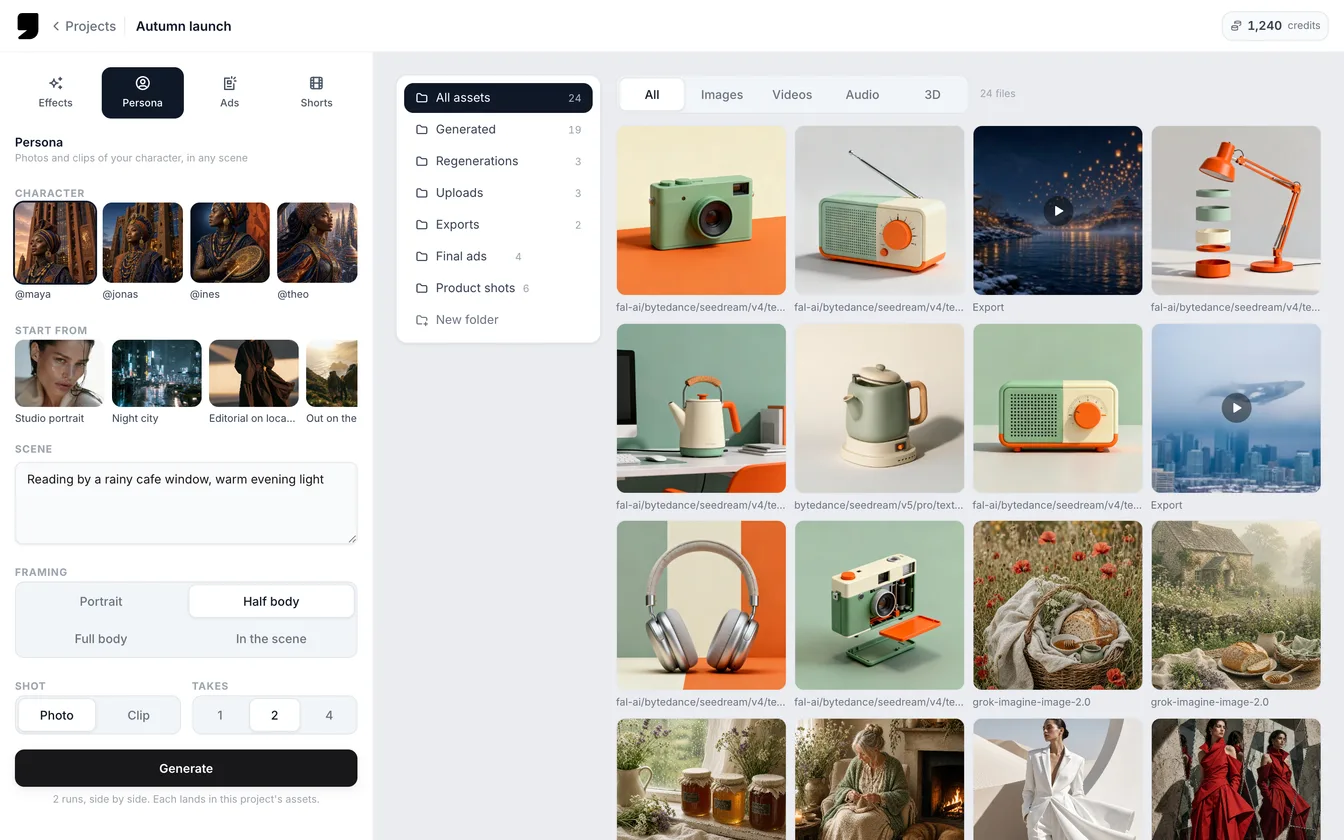
Saved characters are also the starting point for Persona. Pick one, describe a scene, and choose Photo or Clip.
Step 2. Make stills with the handle
In Chat, Node Studio, the whiteboard or the 3D prompt boxes, type
@mara and a menu shows your references. In Chat you can also use Mention a reference in the attach menu. A prompt like "@mara waiting on a rainy platform, full body" sends the description and the character's pictures with it. In Chat, each reference sends up to two pictures, and a message sends up to eight in all. Make three or four stills in different places. Keep the ones where the face is clearest.Step 3. Turn the stills into clips
A still picture is the best starting point for a video. Open a video generation, add the still as the Start Frame and keep
@mara in the prompt. In Node Studio, a Video Generation node (a block that makes video) has spots for Start Frame, End Frame and Style Refs. The character's pictures go into Style Refs, up to the limit of the model. Grok Imagine Video 1.5, for example, takes a start frame, an end frame and seven reference pictures at once.Then describe only the movement. For example: "slow push in as she looks up from the platform, train lights sweeping across her face." Let the character handle the look. For help with the movement line, see how to write prompts for AI video.

A poster frame from a clip of one fixed scene: "lanterns rising over a river at night." Made with Grok Imagine Video 1.5.
Step 4. Use Persona for the quick version
Want it quick? Open Formats and choose Persona. It does steps 2 and 3 in one form. Pick the character and write a scene. Set Shot to Clip and Takes to 2 or 4 (takes are separate tries). Persona writes the @handle prompt for you.
Step 5. Join the clips
Put the best clip of each scene on the Video Composer timeline. The join between clips is where mistakes show, so choose clips where the face is large and clear.
Tips
- Fix the description, not the prompt. If hair or clothes keep changing, add them to the reference. genvi adds the description exactly as you wrote it, so it is never reworded.
- Use first names with talking models. For Veo 3.1, genvi uses the first name in the prompt. A full name like "Marcus Bell" was refused three times in a row, while "Marcus" passed. The editor warns you when a name or description starts with a first and last name.
- Give the character a voice. Veo 3.1 makes up a new voice for every clip, so one creator sounded like two people. A voice saved in the reference keeps one voice. A Lip Sync node can also put the character's speech back on a clip.
- Clips work as references too. genvi takes a still picture from the clip so a model can use it.
- Be careful when you rename. If you change a handle, prompts that use the old one stop working.
What it costs
The price depends on the model you pick, and you see it before you run. Clips on models like Grok Imagine Video 1.5 are priced by the second. Each extra picture adds a little, so a start frame plus references costs slightly more than a start frame alone. Writing a description with AI shows its price on the button. See plans and credits.
FAQ
How many reference pictures should I use?
A reference holds up to 12. In Chat, each reference sends two pictures per message, and eight in all. Four different pictures is usually enough.
Will it work across different video models?
The handle works with all of them, because the description is plain text and the pictures follow each model's limit. Models differ in how well they keep a face, so test one clip before you make a lot.
Can I share a character with a teammate?
References belong to one person. If you publish a template, the references it uses go with it, so the character comes with the template.